Correcting swirls in paint on car is crucial for maintaining your vehicle’s appearance and protecting its paint. Swirl marks, fine scratches caused by improper washing or drying, can detract from your car’s shine and overall look. As a detailing expert, I’ve seen how a thorough correction process can transform a car’s finish, making it look like new again.
The process involves more than just polishing; it requires a thorough understanding of the right techniques and products to use. For instance, using a product like “Reverse: SCRATCH & SWIRL REMOVER” can be effective for hand correction. You can find a variety of detailing products on Amazon that can help achieve professional-level results.
Key Takeaways
- Understand the causes of paint swirl and how to prevent them.
- Learn the step-by-step process for correcting swirls.
- Discover the best products for detailing, available on Amazon.
- Find out how to maintain your car’s finish after correction.
- Explore the benefits of professional detailing services.
Understanding Swirls in Paint on Car
The appearance of swirl marks on car paint is a widespread problem that affects both new and old vehicles. Swirl marks can significantly detract from your car’s appearance, making it look worn out. To address this issue effectively, it’s crucial to understand what causes these imperfections and how to identify them.
What Causes Swirl Marks on Car Paint
Swirl marks are typically caused by improper washing and drying techniques, such as using circular motions with a dirty cloth or towel. Automatic car washes with brushes can also inflict swirl marks due to the mechanical abrasion. Furthermore, using the wrong cleaning products or materials can scratch the paint surface, leading to swirls. For more detailed information on why even brand-new cars need paint correction, you can visit this resource.

How to Identify Different Types of Paint Imperfections
Identifying different types of paint imperfections requires a thorough inspection. Start by washing and drying your car to remove any dirt or debris. Then, inspect the paint under good lighting, using a light source that can highlight imperfections, such as a LED inspection light. Look for swirl marks, which appear as fine circular scratches. Other imperfections like scratches, holograms, or water spots can also be identified through this method.
| Type of Imperfection | Description | Cause |
|---|---|---|
| Swirl Marks | Fine circular scratches | Improper washing, drying, or using wrong materials |
| Scratches | Deeper marks or lines | Physical contact with abrasive surfaces |
| Holograms | Buffer trails or polishing patterns | Incorrect polishing techniques or equipment |
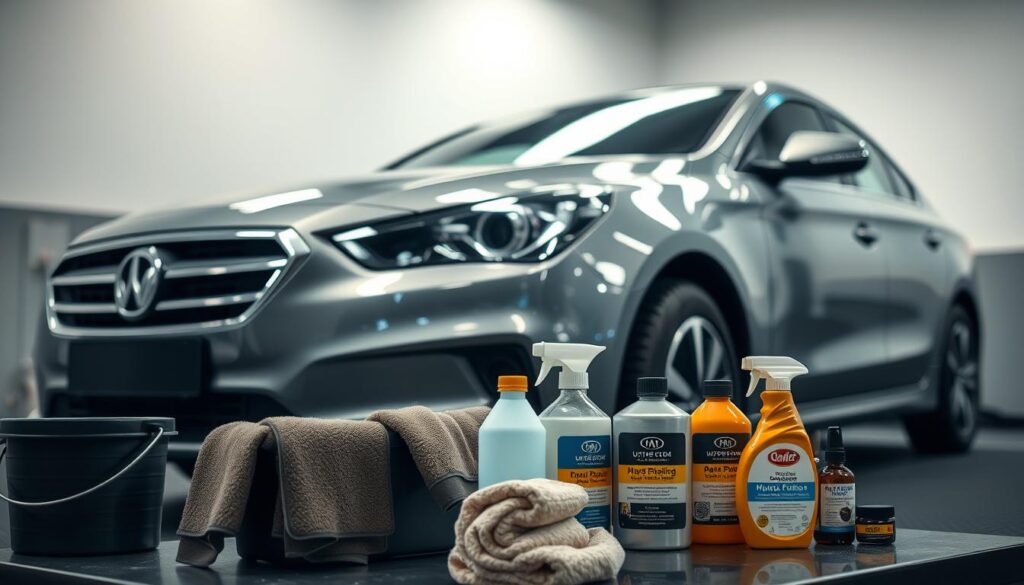
Essential Tools and Products for Swirl Removal
The key to a successful swirl removal process lies in understanding the essential tools and products required. Removing swirls from car paint effectively demands a combination of the right techniques and high-quality detailing products.
Polishing Machines: Dual Action vs. Rotary
When it comes to removing swirls, the choice of polishing machine is critical. There are two primary types: Dual Action (DA) and Rotary polishers. DA polishers are user-friendly and ideal for beginners, as they are less likely to cause damage. Rotary polishers, on the other hand, offer more aggressive cutting power but require more skill to avoid generating heat and causing paint damage.
Dual Action Polishers are perfect for maintaining a car’s paint finish and are generally safer for DIY enthusiasts. Rotary Polishers are better suited for professionals or those with experience, as they can remove deeper imperfections.
Top Amazon Picks for DIY Enthusiasts
For those looking to start their swirl removal journey, some top-rated DA polishers on Amazon include the Chemical Guys TORQX Random Orbital Polisher Kit
and the Griot’s Garage Dual Action Polisher. These products are highly rated for their performance and ease of use.
Compounds, Polishes, and Pads for Different Paint Hardness
The effectiveness of swirl removal also depends on the compounds, polishes, and pads used. Different paint hardness levels require specific products to avoid damage and achieve the best results.
| Paint Hardness | Compound/Polish | Pad Type |
|---|---|---|
| Soft Paint | Mild Compound/Polish | Soft/Foam Pad |
| Medium Paint | Medium Compound/Polish | Medium Density Foam |
| Hard Paint | Aggressive Compound/Polish | Heavy Duty Wool Pad |
Recommended Products on Amazon
For various paint types, recommended products on Amazon include Meguiar’s Ultimate Compound for soft paint and 3M Imperial Hand Glaze for harder paint surfaces. These products are chosen for their quality and effectiveness in removing swirls.
By understanding the tools and products needed for swirl removal, car owners can achieve a professional-level finish at home. It’s about choosing the right equipment and products tailored to the car’s paint type.
Preparation Steps Before Tackling Swirls
Before diving into swirl removal, it’s essential to prepare your vehicle’s paint surface adequately. Proper preparation ensures that the swirl removal process is effective and safe for your car’s paint. In this section, we’ll walk through the necessary steps to prepare your vehicle’s paint for swirl removal.
Proper Washing and Decontamination Techniques
The first step in preparing your vehicle’s paint is to wash it thoroughly. Use a mild car wash soap and a soft, microfiber wash mitt to avoid scratching the paint. Avoid using household cleaners or harsh chemicals, as they can damage the paint or strip away wax and protective coatings. After washing, dry the vehicle using a microfiber drying towel to prevent water spots.
Decontamination is also crucial. Use a paint decontamination product to remove tar, bug splatters, and other contaminants that can interfere with the swirl removal process.
Clay Bar Treatment and Surface Prep
After washing and decontaminating, use a clay bar to remove any remaining contaminants that are embedded in the paint. This step is crucial for achieving a smooth finish. Clay bar treatment helps to remove overspray, rail dust, and other contaminants that can cause swirls and scratches. For a complete guide, check out our in-depth blog on Clay Bar Treatment and Surface Prep.
- Use a clay bar lubricant to prevent scratching the paint.
- Gently rub the clay bar back and forth across the paint, working in small sections.
- Inspect the paint regularly to ensure that it’s becoming smoother.
Paint Inspection and Testing for Paint Thickness
Before proceeding with swirl removal, inspect the paint for any damage or imperfections. Use a paint thickness gauge to measure the paint thickness and ensure that it’s safe to polish. Checking paint thickness helps prevent over-polishing, which can damage the paint.
By following these preparation steps, you’ll be able to effectively remove swirls from your car’s paint and achieve a flawless finish.
Step-by-Step Process for Removing Swirls from Car Paint
To achieve a swirl-free car paint finish, it’s crucial to follow a detailed, step-by-step process. This guide will walk you through setting up your work area, mastering machine polishing techniques, and using the right pad and compound combinations, ensuring a flawless finish.
Setting Up Your Work Area Properly
Before you start removing swirls, it’s essential to set up your work area correctly. Ensure you’re working in a well-ventilated, dust-free environment, and use a high-quality work light to illuminate the paint surface. A clean microfiber towel should be on hand to wipe away any excess product or debris.
Key elements to consider when setting up your work area include:
- Avoiding direct sunlight to prevent product drying too quickly
- Using a turntable or rotisserie for even access to all areas of the vehicle
- Keeping all necessary tools and products within easy reach
Machine Polishing Techniques for Beginners
For those new to machine polishing, it’s vital to start with the right techniques. Begin by practicing on a small, inconspicuous area to get a feel for the machine and the product you’re using. Use a dual-action polisher, as it’s more forgiving for beginners.
Basic machine polishing steps include:
- Applying the correct amount of product to the pad
- Working in small sections to maintain even coverage
- Using slow, overlapping passes to ensure thorough coverage
Working with Different Pad and Compound Combinations
The right combination of pad and compound is crucial for effective swirl removal. Different paint types require specific pad and compound combinations. For instance, a softer paint may require a softer pad and a less aggressive compound.
| Paint Type | Recommended Pad | Recommended Compound |
|---|---|---|
| Soft Paint | Soft Foam Pad | Less Aggressive Compound |
| Hard Paint | Firm Foam or Wool Pad | More Aggressive Compound |
Hand Polishing Methods for Difficult Areas
Some areas, like tight corners or intricate designs, may require hand polishing. Use a high-quality polish and a soft, clean cloth to gently work the product into the paint. This method allows for precise control and can be very effective for small, detailed areas.
For more information on removing swirls from car paint, you can visit this detailed guide.
Troubleshooting Common Issues When Removing Swirl Marks
Successfully eliminating swirls from car paint demands a thorough understanding of the potential pitfalls and how to overcome them. When removing swirl marks, several common issues can arise, including dealing with stubborn swirls, avoiding holograms and buffer trails, and knowing when to seek professional help.
Dealing with Stubborn Swirls in Soft vs. Hard Paint
Stubborn swirls can be particularly challenging, especially when dealing with soft or hard paint. Soft paint is more prone to scratches and swirls, requiring a gentler approach with less aggressive compounds and polishes. On the other hand, hard paint can withstand more aggressive correction but may still require careful selection of pads and compounds to avoid damage.
| Paint Type | Recommended Compound/Polish | Pad Type |
|---|---|---|
| Soft Paint | Less aggressive | Soft or Medium |
| Hard Paint | More aggressive | Medium or Firm |
Avoiding Holograms and Buffer Trails
Holograms and buffer trails are unwanted patterns that can appear during the polishing process. To avoid these issues, it’s essential to use the correct polishing technique, maintain proper machine settings, and ensure the paint surface is clean and free of debris. Using a dual-action polisher can also help minimize the risk of holograms and buffer trails.
When to Stop and Seek Professional Help
Knowing when to stop the correction process is crucial to avoid over-correction and potential damage to the paint. If swirls persist after multiple attempts with different compounds and polishes, it may be time to seek professional help. Professionals have the expertise and specialized equipment to tackle complex paint correction tasks.
Conclusion: Protecting and Maintaining Your Swirl-Free Finish
Maintaining a swirl-free finish on your car’s paint requires regular care and attention. After investing time and effort into removing swirl marks on car paint, it’s essential to protect your vehicle’s finish. Regular washing, waxing, and polishing are crucial to maintaining a showroom shine. I recommend detailing your car every 3 to 6 months for optimal results.
To keep your car’s paint looking its best, consider using a quick detailer spray between washes. For added protection, apply a layer of wax or sealant using a foam applicator pad or microfiber cloth. For more information on maintaining your vehicle’s finish, you can contact a professional detailer for personalized advice.
By following the techniques outlined in this article and staying committed to regular maintenance, you can enjoy a flawless, swirl-free finish for years to come. Removing swirls from car paint is just the first step; protecting your vehicle’s paint is an ongoing process that requires dedication and the right techniques.